|
|
1. Install our Barcode .NET Control and start Microsoft Visual Studio. Create a new project after that. 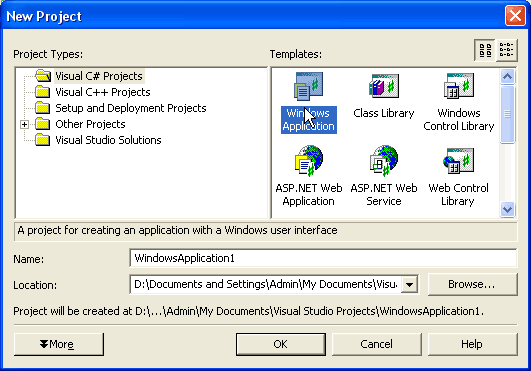
2. Register Barcode .NET Control in your application. Open Toolbox for that. 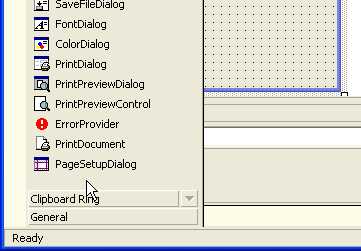
3. Right-click to open the context menu and select Customize Toolbox. 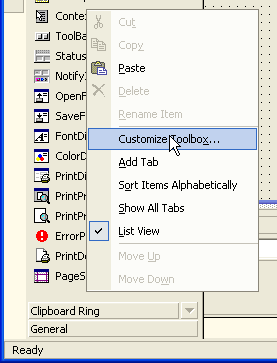
4. Switch to the .NET Framework Components tab and click the Browse button. Then select the file Barcodes.Barcode.dll. 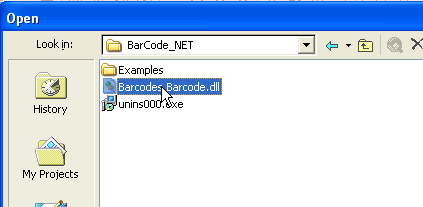
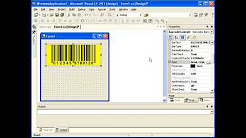
5. Now the Barcode .NET Control is present on the Windows Forms tab. You can put it on the form. 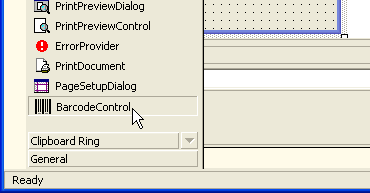
6. Adjust the properties of the Barcode .NET Control. 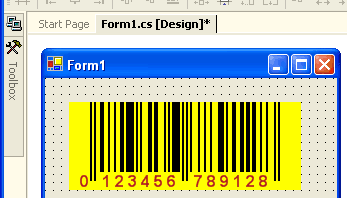
7. Place the code for using the control. The following code saves the barcode image to an image file. The barcode will have x-dimension equal to 2 pixels. double wPix;Copies the barcode image to the clipboard. barcodeControl1.CopyToClipboard( 250, 100 );The barcode can be displayed in any Graphics object or Device Context (HDC). Graphics gr = this.CreateGraphics();This code allows you to print the barcode on the printer. private void button4_Click(object sender, System.EventArgs e) { try { PrintDocument pd = new PrintDocument(); pd.PrintPage += new PrintPageEventHandler( this.OnPrintBarcodePage ); pd.Print(); } catch( Exception ex ) { MessageBox.Show( ex.Message ); } } // The OnPrintBarcodePage event is raised for each page to be printed. private void OnPrintBarcodePage(object sender, PrintPageEventArgs ev) { double wMM; barcodeControl1.GetBarcodeWidth( 0.5, (int)ev.Graphics.DpiX, (int)ev.Graphics.DpiY, Barcodes.Barcode.Dimensions.dmMM, Barcodes.Barcode.Dimensions.dmMM, out wMM ); // print a barcode barcodeControl1.DrawBarcodeToSize(10, 10, 25, wMM, Barcodes.Barcode.Dimensions.dmMM, ev.Graphics ); } The installation package contains the entire example of how to use our Barcode .NET Control. The example is written in MS C#. |

